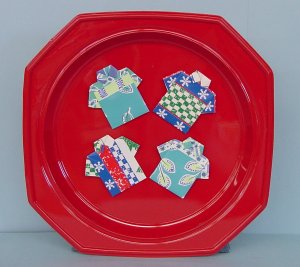
ORIGAMI VACATION SHIRTS
All you need is one piece of paper 3 3/4" x 8". Any kind of paper will work. We’ve used wrapping paper. You might even use a real dollar bill although the shirt will come out smaller.
| 1.
Fold in half lengthwise as shown. |
2. Open. Fold both edges into the middle as shown. |
 |
 |
| 3. Turn piece over. | 4. Fold back 1/4" at the top. |
 |
 |
| 5. Turn piece over again. | 6. Fold upper points into the middle. This forms the shirt’s collar. |
 |
 |
| 7. Fold bottom up 1/3 from top & crease. | 8. Fold bottom up again & fit under the collar. |
 |
 |
| 9. Gently unfold the previous two folds, keeping the creases. Position with collar side down as shown. | |
 | |
| 10. Now you’re going to form the sleeves. Fold bottom edge back up. Reach under this fold on each side and pull outwards to form a sleeve. This is not difficult to do, just a little hard to describe. Your piece should now look like this. | |
 |
|
| 11. Bring the bottom (where the collar is) straight up and crease on the same fold. Tuck this piece under the collar points to hold in place. | |
 |
|