First of all you need to understand how Microsoft Access breaks down a database. Some
keywords involved in this process are: Database File, Table, Record, Field, Data-type.
Here is the Hierarchy that Microsoft Access uses in breaking down a database.
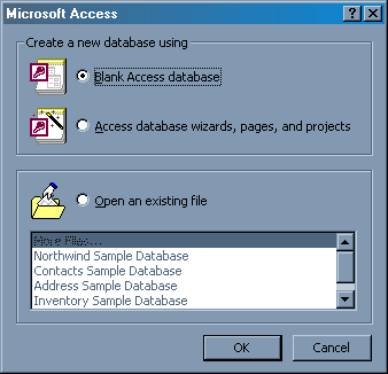
Database File: This is your main file that encompasses
the entire database and that is saved to your hard-drive or
floppy disk.
Example) StudentDatabase.mdb
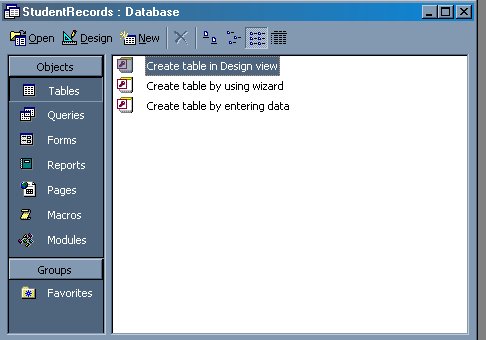
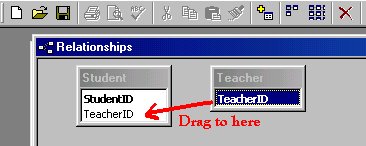
Table:A table is a collection of data about a specific
topic. There can be multiple tables in a database.
Example #1) Students
Example #2) Teachers
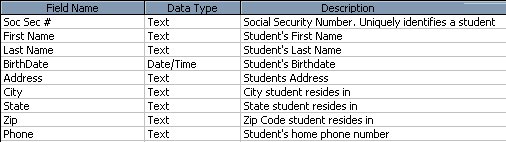
Field:Fields are the different categories within a Table.
Tables usually contain multiple fields.
Example #1) Student LastName
Example #2) Student FirstName
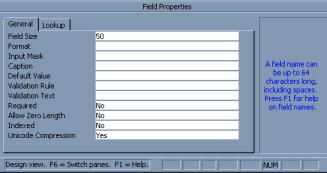
Datatypes:Datatypes are the properties of each field. A
field only has 1 datatype.
FieldName) Student LastName
Datatype) Text
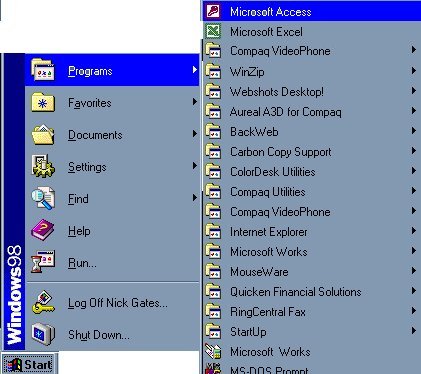
This tutorial will help you get started with Microsoft Access and may solve
some of your problems, but it is a very good idea to use the Help Files that come
with Microsoft Access (or any program you use for that matter), or go to Microsoft's
web site located at http://microsoft.com/office/access/default.htm
for further assistance.